
Learn how make felt figures with these simple and easy instructions and YouTube tutorial. These little figures are perfect for storytelling and independent play. Use this craft to keep children engaged in a lesson or to give them the freedom to practice their own storytelling!
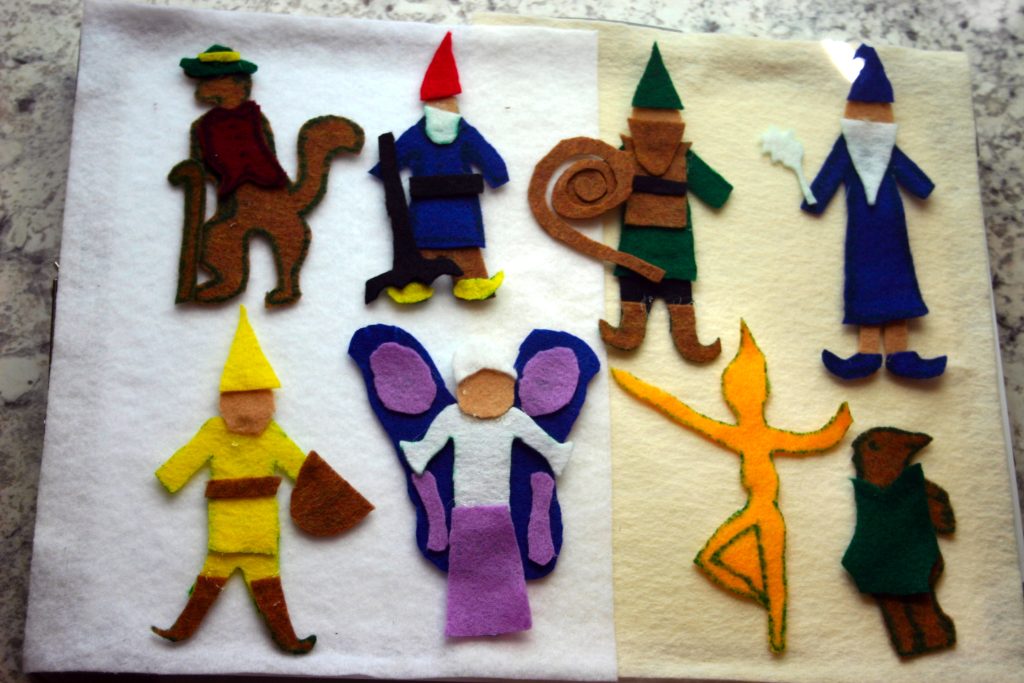
These felt figures have already proven to be a favorite in my household. I made figures based on the early childhood curriculum we are currently following, the Wondergarten Curriculum. Part of this curriculum is following the same characters in a new story each week to learn lessons about kindness and about the seasons changing in nature. The stories are lovely and I wanted to make it easier for my preschooler to follow along, so I made these felt figures.
I landed on making felt figures over other types of figurines because they are affordable and easy to make. They are also preferred because my son can interact with the figures by dressing them and putting them on the storyboard himself. I have found that having these figures has definitely helped keep his attention and he is able to remember the stories better.
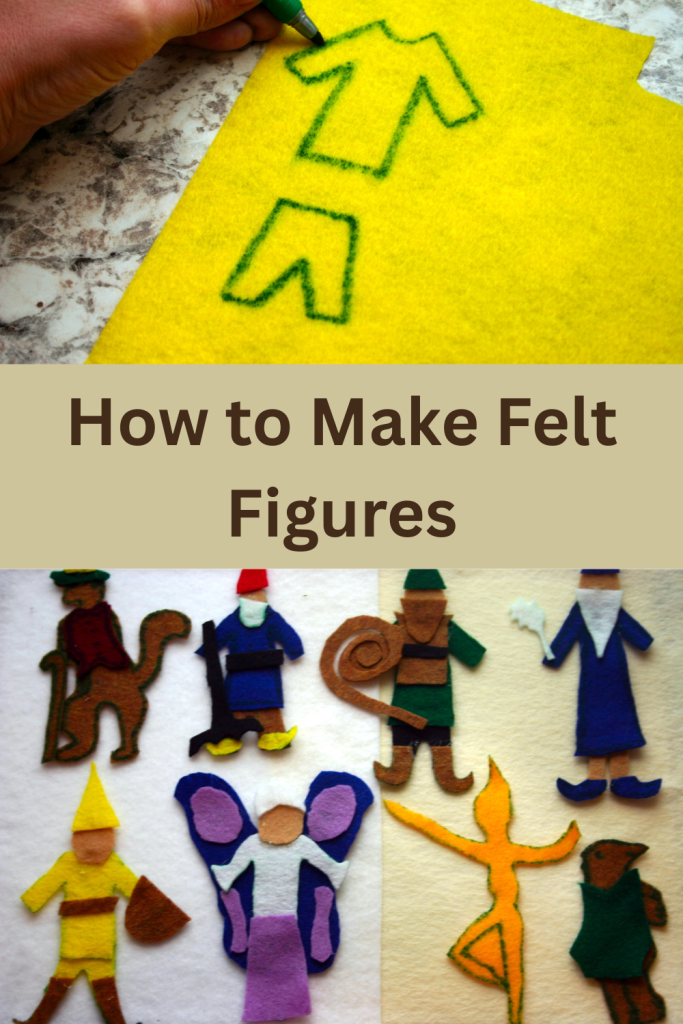
Making some felt figures of your own would be a great addition to your playroom. Whether you are using these stories for lessons or just for fun, all kids enjoy playing with the felt figures, engaging in the stories being told, and practicing their own storytelling skills with these adorable and affordable figurines.
YouTube Video of How to Make Felt Figures
Watch the tutorial of how to make the felt figures and how I prepare for homeschool season in this YouTube video:
Materials to Make Felt Figures
- Felt pieces in whatever colors would best suit your project
- Hot glue gun
- Hot glue sticks in the correct size for you glue gun
- Scissors
- Sharpie or marker
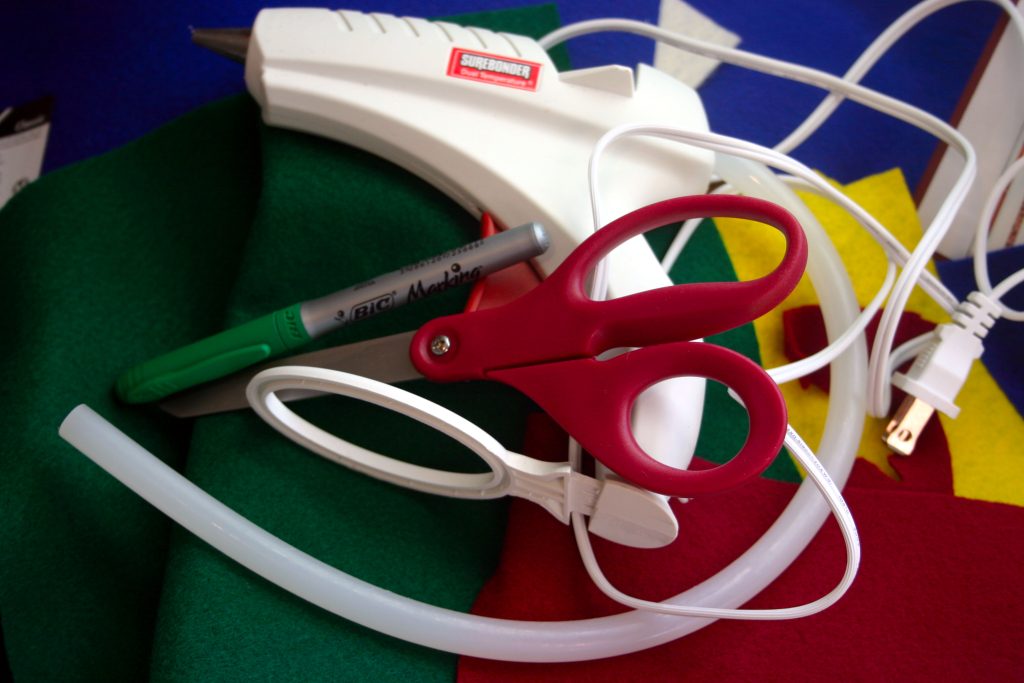
Felt Figure Materials on Amazon
This post contains affiliate links for your shopping convenience, which means I make a small commission at no extra cost to you . Read the full disclosure here.
You can find all of the materials needed at my Felt Friends Board on Amazon. Alternatively, here are links for all of the individual materials:
- Felt pieces in multiple colors
- Hot glue gun and glue sticks
- Craft scissors
- Sharpie Markers
- Felt Story Board
Instructions to Make Felt Figures
Deciding which Felt Figures to Make
Deciding which felt figures to make is the first step in this craft. There are a few different ways you could go with this project.
You could follow a specific story, like Winnie the Pooh or the Wondergarten Curriculum puppets I have displayed. These felt figures can add a helpful visual aid to stories and nursery rhymes your kiddos return to again and again.
You could also create a genre of felt figures, like farm animals or food. These kinds of figures would be ideal for free play options where children can make up whatever stories they desire.
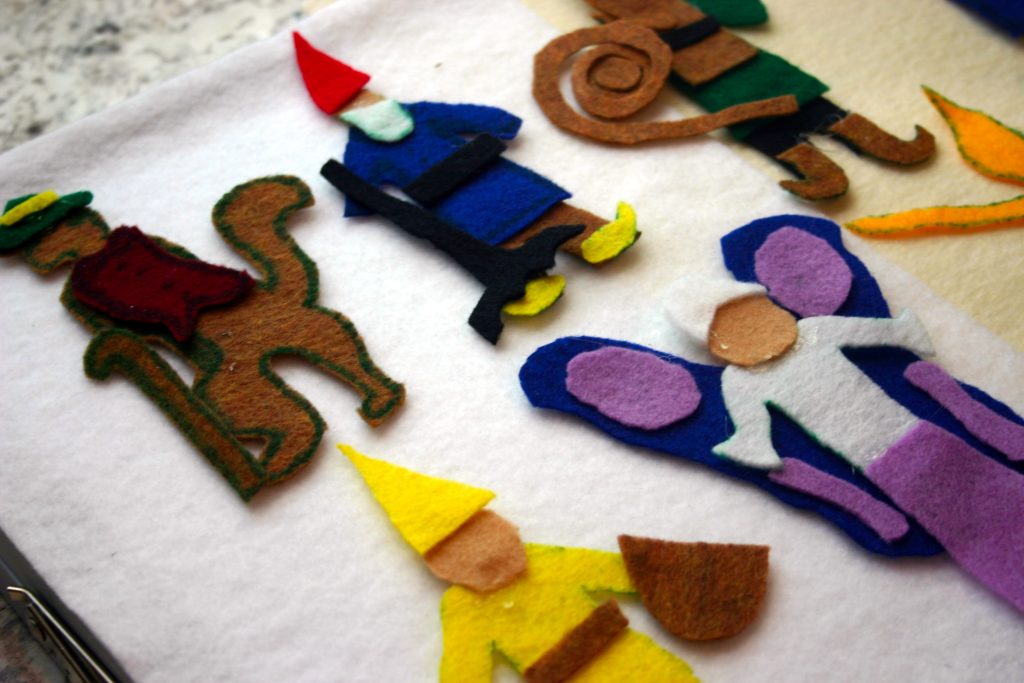
Putting the Felt Figures Together
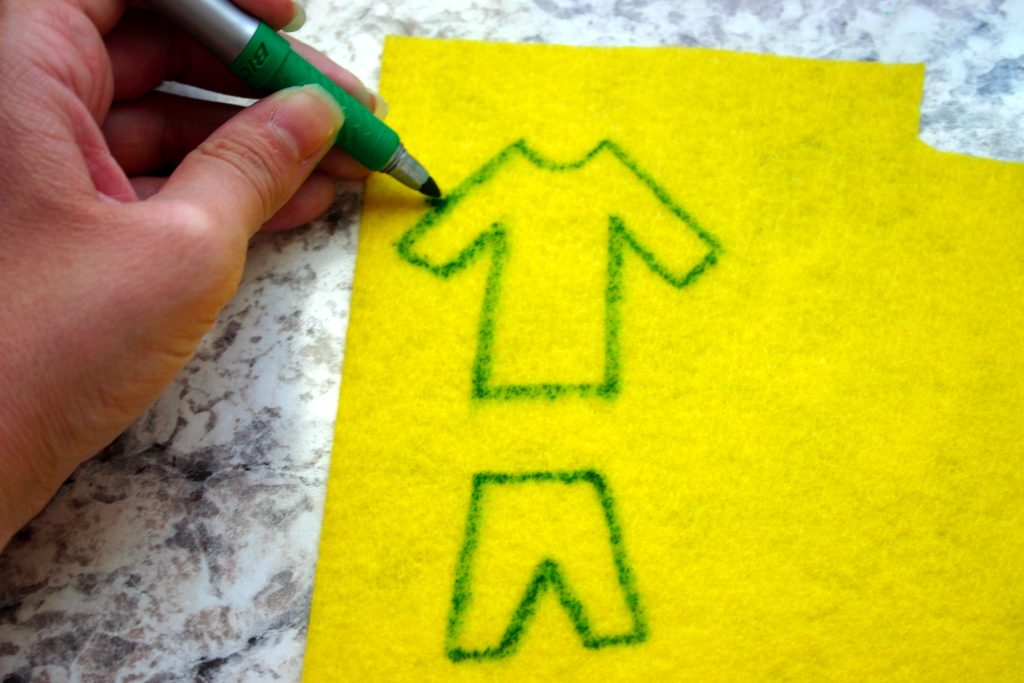

- Use the sharpie or marker to draw the shape of the figure onto the felt piece. The main shape of the body might be one color. For example, in making Winnie the Pooh, his entire body could be drawn on the yellow fabric.
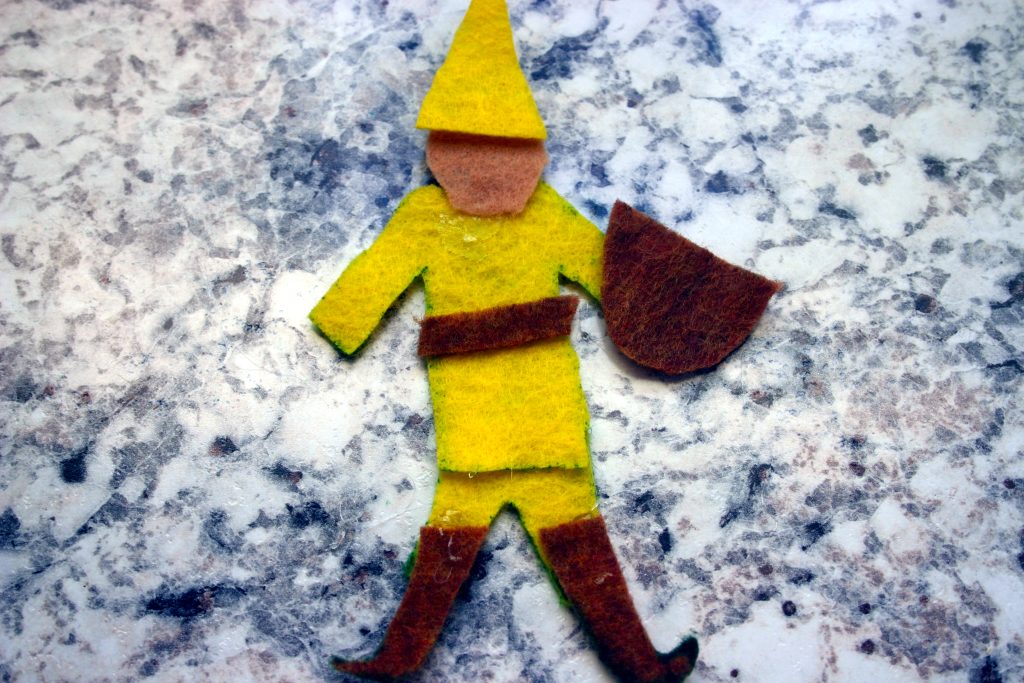
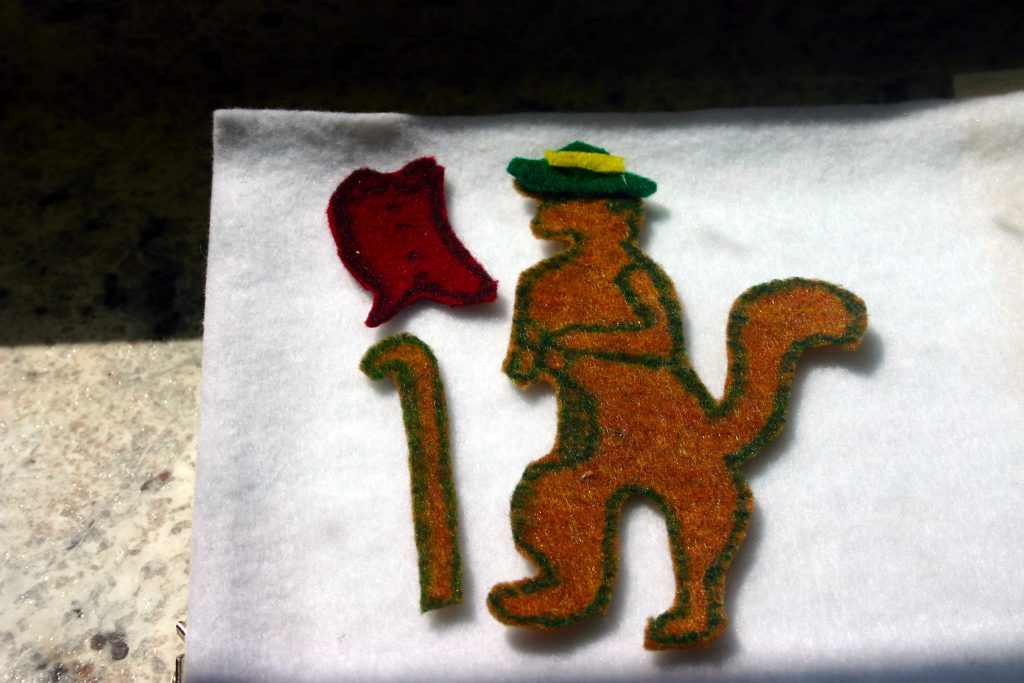
- Create clothes and accessories to add to the felt figures. The characters can wear shirts, hats, canes, etc. In the case of Winnie the Pooh, you would want to draw a red shirt. This allows for layering and extra play, especially if the figures you are making typically wear clothes.
- It can be helpful to lay the felt body that was already created onto the color for the clothes fabric in order to trace and get the right size. It can also be helpful to draw the clothes a little bit bigger than needed in order to cut away the extra lines that the marker creates. This is especially true in lighter colored felt fabrics.
- Once all of the pieces are cut, hot glue the pieces that you want to stay in-tact. This is mostly helpful for items that can be easily lost. For example, if a belt is added, it might be easily lost, so it would be best to glue them to the pants. The children might enjoy dressing the felt figures in the larger clothing items. So, how many or how few of the pieces are glued together is at your discretion.

BONUS: Make a Felt Story Board!
Good news! If you do not have a felt story board, you can easily make one!
- Take an extra white board, chalk board, or even cork board that you already have.
- Adhere leftover felt fabric to the board using double sided tape. In the case of using an old cork board, you can pin the fabric up with push pins.
- That’s it! Now your kids can play and utilize the story board as much as they want!

Notes
- The hot gluing is optional. Hot gluing is mostly used for pieces that may be lost easily.
- The cost of the project is relatively low, depending on how many felt pieces you may need.
- Using a felt story board can help in the storytelling, especially if this is accompanying a book you and your children are reading. However, it is not necessary. If you do not have a felt storyboard, you can either put the felt characters on a table or the floor, or make a storyboard out of leftover felt fabric.
- The felt figures naturally stick to a storyboard. No extra glue or tape is needed.

More Craft Projects
Pinecone Ghost Halloween Craft for Kids
Cranberry and Popcorn Christmas Garland
Gingerbread Salt Dough Ornaments
Pin for Later
Felt Figures
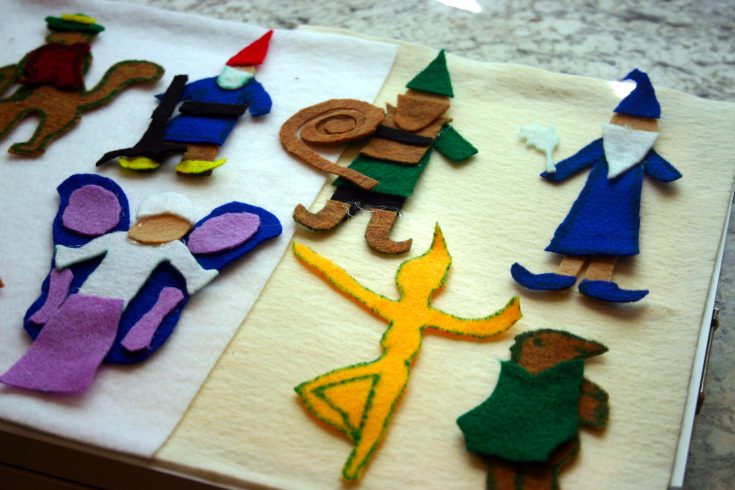
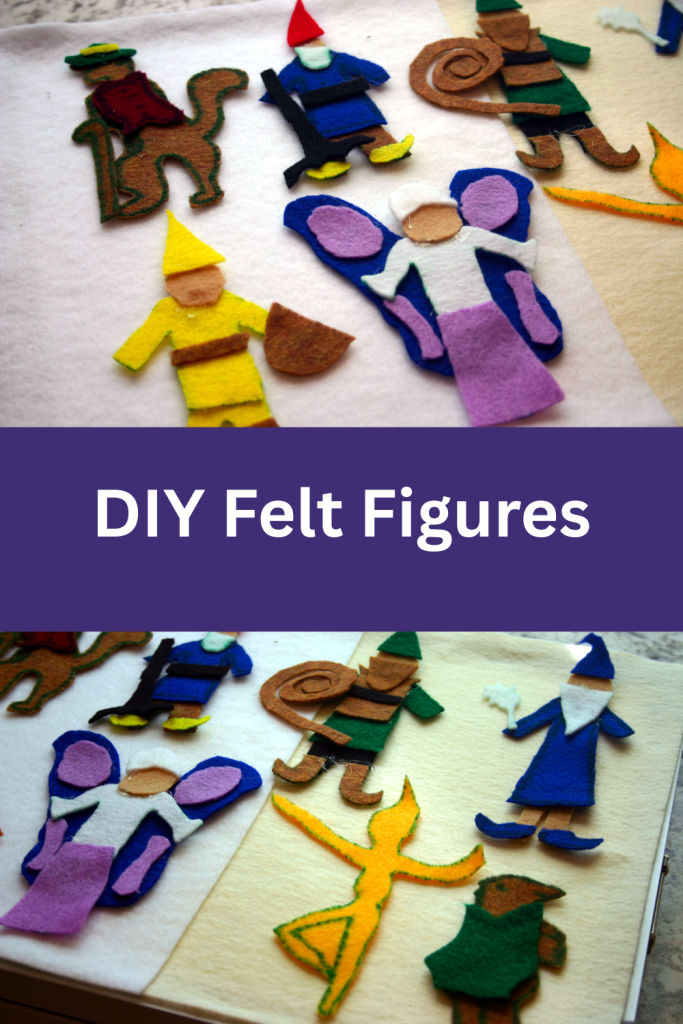
These little felt figures are perfect for storytelling and independent play. Use this craft to keep children engaged in a lesson or to give them the freedom to practice their own storytelling!
Materials
- Felt pieces in whatever colors would best suit your project
- Hot glue gun
- Hot glue sticks
- Scissors
- Sharpie or marker
Instructions
- Decide which felt figures to make. You could follow a specific story, like Winnie the Pooh. You could also create a genre of felt figures, like farm animals.
- Use the sharpie or marker to draw the shape of the figure onto the felt piece. The main shape of the body might be one color. For example, in making Winnie the pooh, his entire body could be drawn on the yellow fabric.
- If desired, create clothes and accessories to add to the felt figures. The characters can wear shirts, hats, canes, etc. It can be helpful to lay the felt body that was already created onto the color of the clothes fabric in order to trace and get the right size. It can also be helpful to draw the clothes a little bit bigger than needed in order to cut away the extra lines that the marker creates. This is especially true in lighter colored fabrics.
- Once all of the pieces are cut, hot glue the pieces that you want to stay in-tact. This is mostly helpful for smaller pieces that could get easily lost. For example, if a belt is added, it might be easily lost, so it would be best to glue them to the pants. How many or how few of the pieces are glued together is at your discretion.
Bonus:
If you do not have a felt story board, you can easily make one.
- Take an extra white board, chalk board, or even cork board that you already have.
- Adhere leftover felt fabric to the board using double sided tape (or push pins in the case of using a cork board).
- That's it! Now your kids can play and utilize the story board as much as they want!
Notes
- The cost of the project is relatively low, depending on how many felt pieces you may need.
- Using a felt story board can help in the storytelling, especially if this is accompanying a book you and your children are reading. However, it is not necessary. If you do not have a felt storyboard, you can either put the felt characters on a table or the floor, or make a storyboard out of leftover felt fabric.
- The felt figures naturally stick to a felt storyboard. No extra glue or tape is needed.
- The hot gluing is optional for pieces that may be easily lost.

Leave a Reply