
Create your dream kitchen with these affordable kitchen renovation ideas on a budget! A beautiful kitchen with well-built, functional cabinetry does not have to break the bank. This article will outline tips and instructions to renovate your kitchen on a budget, including: installing cabinets, installing countertops, and making drawers.
We bought quite the fixer upper. Quickly after acquiring the keys, we realized that the kitchen needed to be completely gutted for a variety of reasons. So, we tore it down to the studs to start over. Because of this, we have been living with only a subfloor, oven, and refrigerator in our kitchen. That’s it. No cabinets, no real flooring, not even a sink! Dishes were done in the bathroom for many months! It has long been time for an upgrade, but we have been patiently waiting for a way to accomplish the kitchen we wanted affordably.
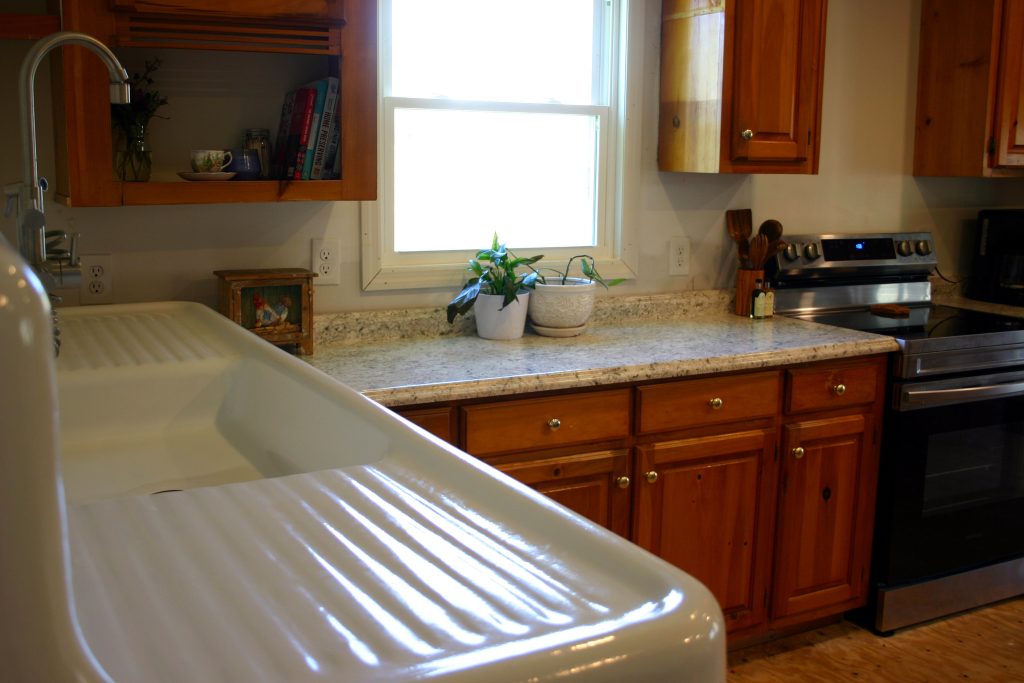
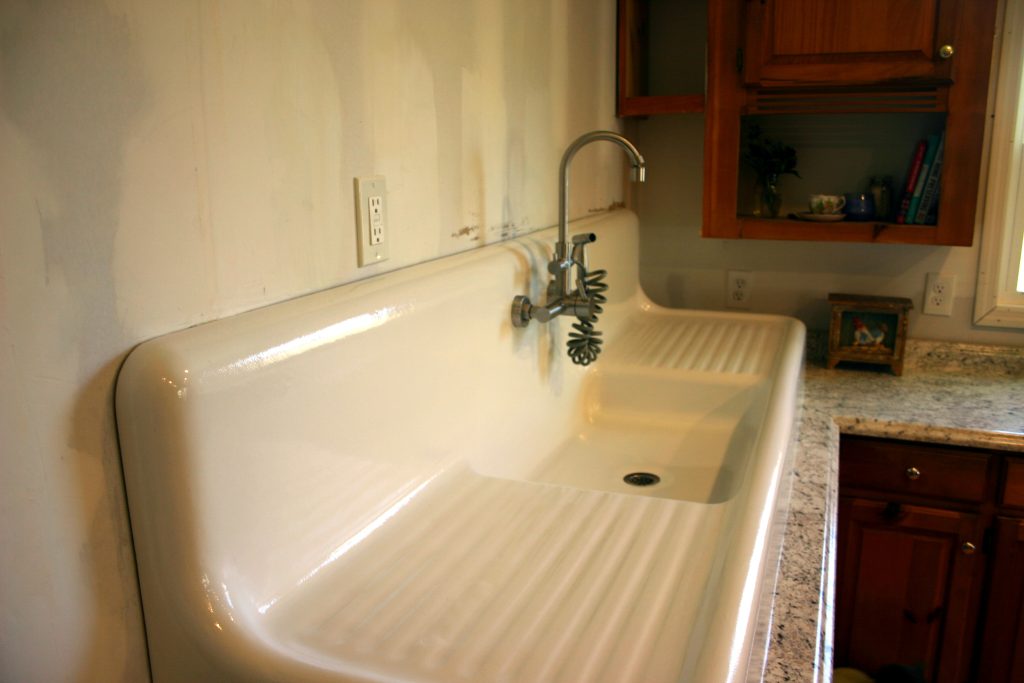
The time has finally arrived! We have a beautiful kitchen! There are still updates to be done, but I am so happy to finally have a real countertop workspace and a GORGEOUS sink to wash dishes in. We sourced all of our materials as affordably as we could and did all of the labor ourselves to cut costs. I couldn’t be happier with the results!

Affordable Kitchen Renovation Ideas on a Budget YouTube Video
Check out the video of us putting the kitchen together, all of the parts that went into it, and more visual instructions to accomplish the same results.
Sourcing Materials for an Affordable Kitchen Renovation
Being thrifty is crucial when renovating on a budget. Here are a few ways we were able to pinch our pennies:
Facebook Marketplace is Your Best friend!
The same applies if there is a ReStore or something similar near you. We scoured Facebook Marketplace for weeks to find a good deal on cabinets. We knew we wanted real wooden cabinets, but did not want to pay the price for new ones, and the marketplace ended up being a great option for us. Favorite options that you like even if it is out of your price range. The app will notify you when there is a price drop. This is how we were able to find our cabinets so affordably.
If you are having trouble finding something in your area, you can widen the perimeter of your search. Definitely check out the integrity of the cabinets before buying them. It is always a good rule of thumb to inspect such large purchases before buying it.
Facebook Marketplace can also be a great resource for used countertops, sinks, appliances, and more. If you are working with a really tight budget, don’t be afraid to be thrifty!
Get Creative!
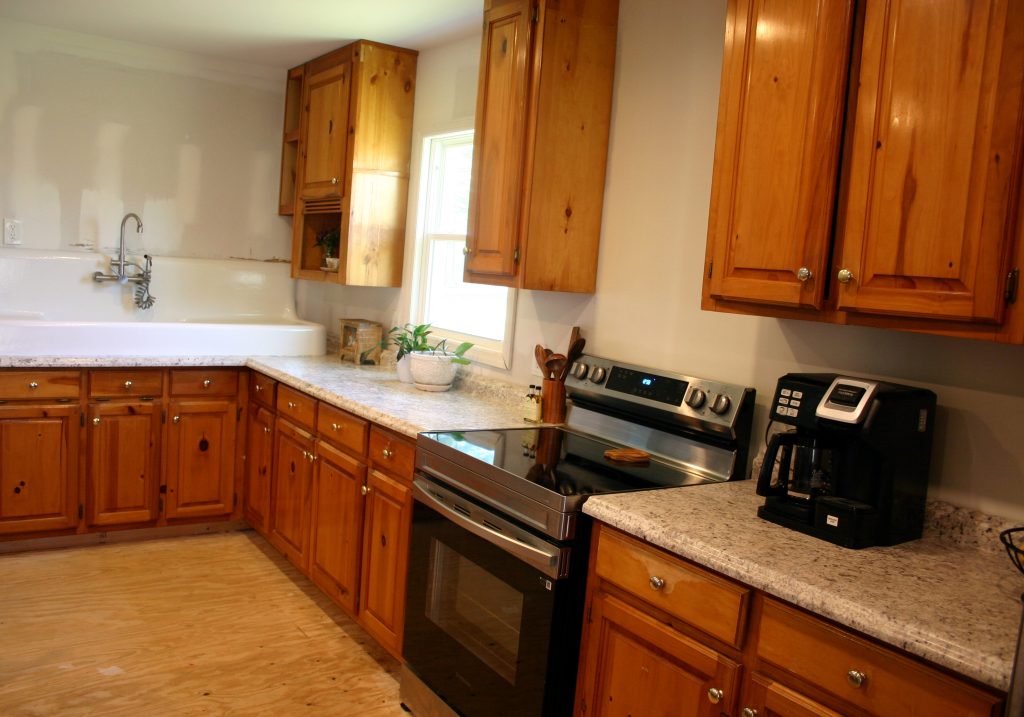
With purchasing someone else’s used custom cabinets, we had to get creative to figure out how to change and adapt them to our space. Some of the pieces fit seamlessly where we needed them to. Others had to be cut and put back together to work in our kitchen. Thankfully, we had some great creative minds working on the project (my husband, myself, and my in-laws) who were able to create solutions. Re-customizing another home’s custom cabinets is not the easy route, but it certainly is affordable and is a great way to exercise your creative juices!
Use Your Resources!
In today’s day and age, there are so many resources at our fingertips to learn how to do pretty much anything!
- Put yourself out there and ask others who have done similar projects how they accomplished it.
- Go to the library and read about the project.
- Go to your local hardware store and ask the people in the various departments their opinions.
- At the very least, watch some YouTube videos on accomplishing your goal.
We used almost all of these tips when putting our kitchen together and it was very helpful.

Affordable Kitchen Renovation Ideas: Installing Cabinets
Creating custom cabinets for your kitchen takes some time, but is definitely worth it! Luckily, we were able to acquire some used custom cabinets, so we didn’t have to start from scratch. With some creativity and trial and error, we were able to re-customize these cabinets to fit our kitchen perfectly!
Step One- Lengthen the Wall
The first thing we had to do was shorten our doorway between the living room and the kitchen. There was a miscommunication with our contractors who gutted and re-drywalled our kitchen which left the opening too short for the dimensions we needed. So, we got to work lengthening the wall so the cabinets would fit properly (this will most likely not be everyone’s first step).
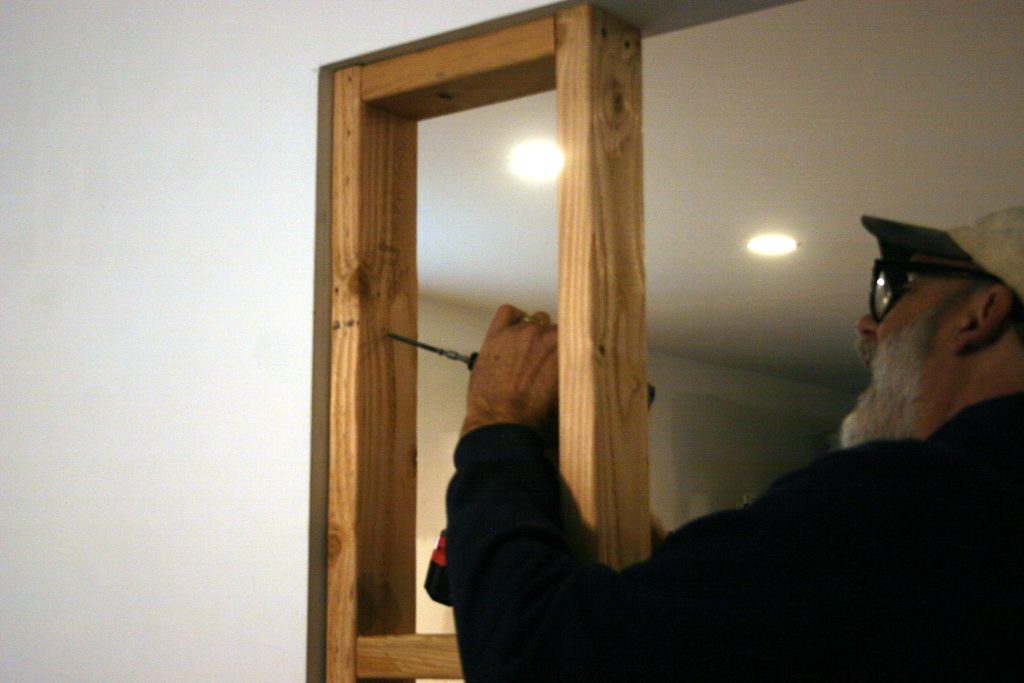

We cut a 2×4 plank to fit the doorway. Then, we cut more 2×4 planks to reinforce the new wall. We had 4 reinforcement pieces. Then, we cut the drywall using an exacto knife. Using putty, drywall tape, and corner brackets, we floated the wall.
Step Two- Measure and Plan the Cabinets
The cabinets we acquired were made for a kitchen that is shaped differently from ours, so we had to get creative. The original kitchen was also bigger than ours, so we had extra pieces to cut to fit our needs. Thankfully, the two lower cabinets that met in the corner fit perfectly in the space we needed and we did not have to do anything differently there.

Every other space required some cutting and reconfiguring. This smaller cabinet on the right of the window was part of a hood configuration above the original owners stove. We removed the hood part and aligned the end of this cabinet with the end of the bottom cabinet next to the stove.
Next, we measured the distance between the smaller cabinet and the window so that we could achieve the same distance on the opposite side. Originally, the cabinet on the left of the window was a singular cabinet with a space for a microwave. Using pieces from extra cabinets, we created these little shelves to make up for the awkward wasted space.
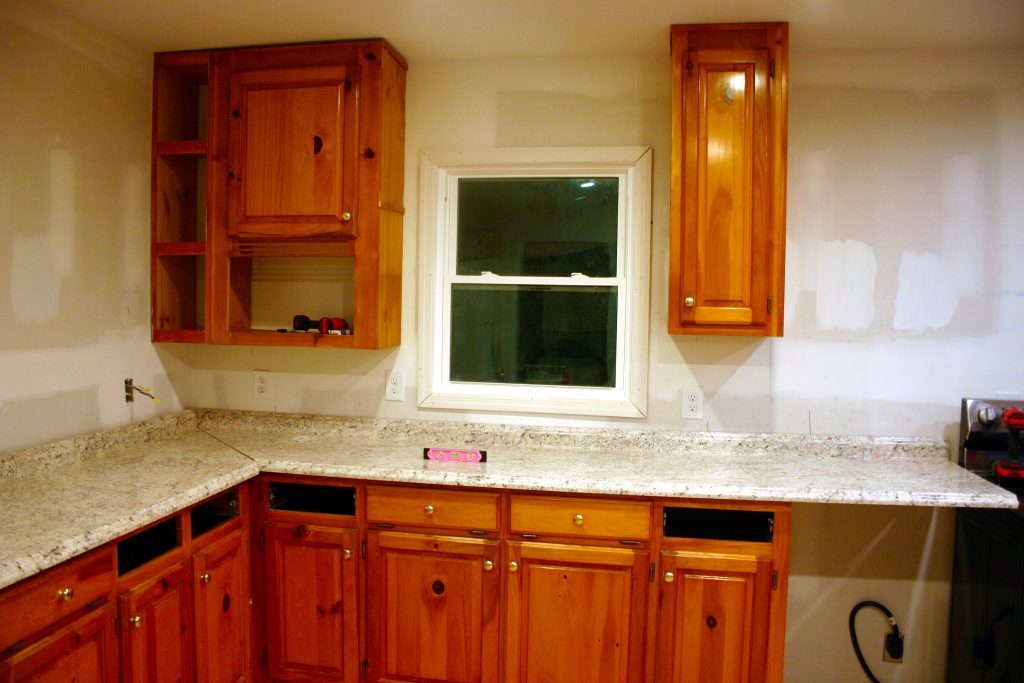
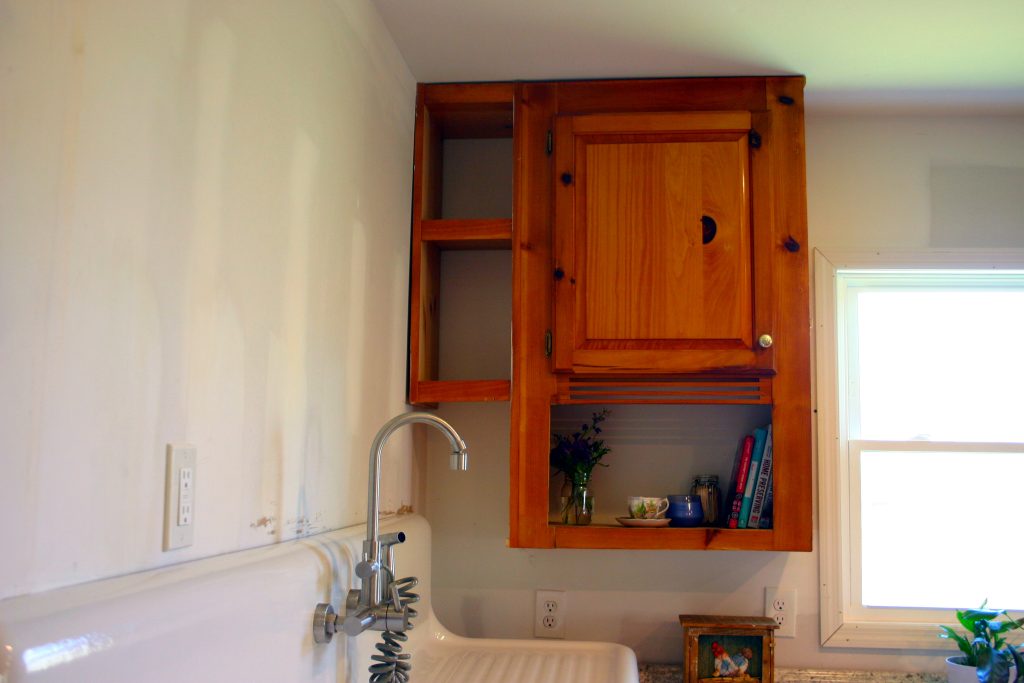
The cabinets on the other side of the oven have a similar story. For the lower cabinets, we measured the distance between the oven and refrigerator to know where to cut. Luckily, the space was just wide enough that we only needed to remove an awkward corner piece that we did not want anyway.
For the upper cabinets on the right side of the oven, we aligned it with the end of the lower cabinets so that they would be even. Then, we cut off the same awkward corner piece on the upper cabinets. Lastly, we attached more little shelves made out of scrap pieces to make up for the wasted space.


Step Three- Cut and Re-Configure the Cabinets
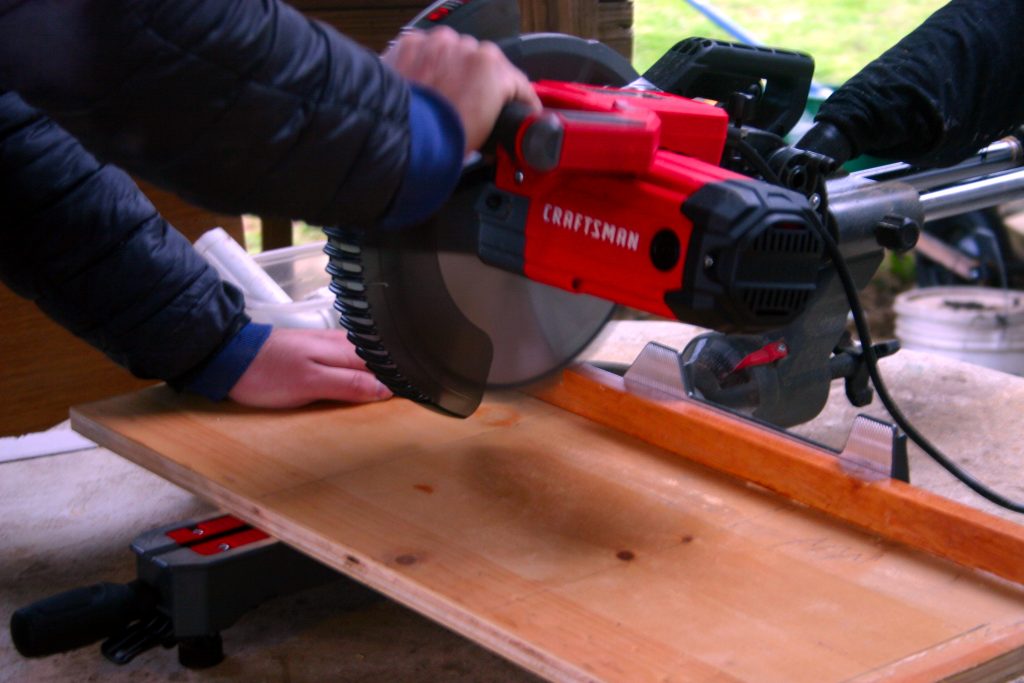
We used several different tools to build the cabinets, including: A Miter Saw, a Circular Saw, a Sawzall, and a Nail Gun. Different types of cuts require different saws. Straight cuts on longer pieces of wood were more appropriate for the circular saw. Whereas, shorter pieces, such as the shelves, were appropriate for the miter saw.

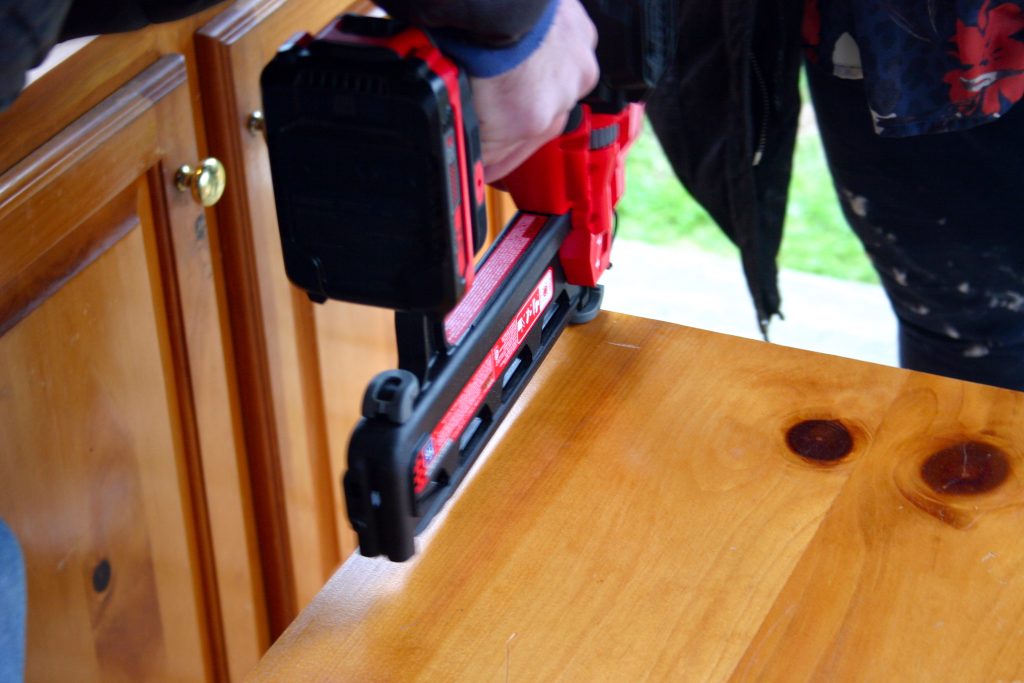
After cutting the pieces to the correct lengths, we used the nail gun to secure the pieces together. Using a nail gun made the process much faster, although it could be done with a hammer and nails as well.
Step Four- Install the Cabinets
First, we double-checked where each cabinet would fit after they were assembled. Then, we found it easiest to place the upper cabinets first while marking where the appliances would be to ensure the correct configuration.
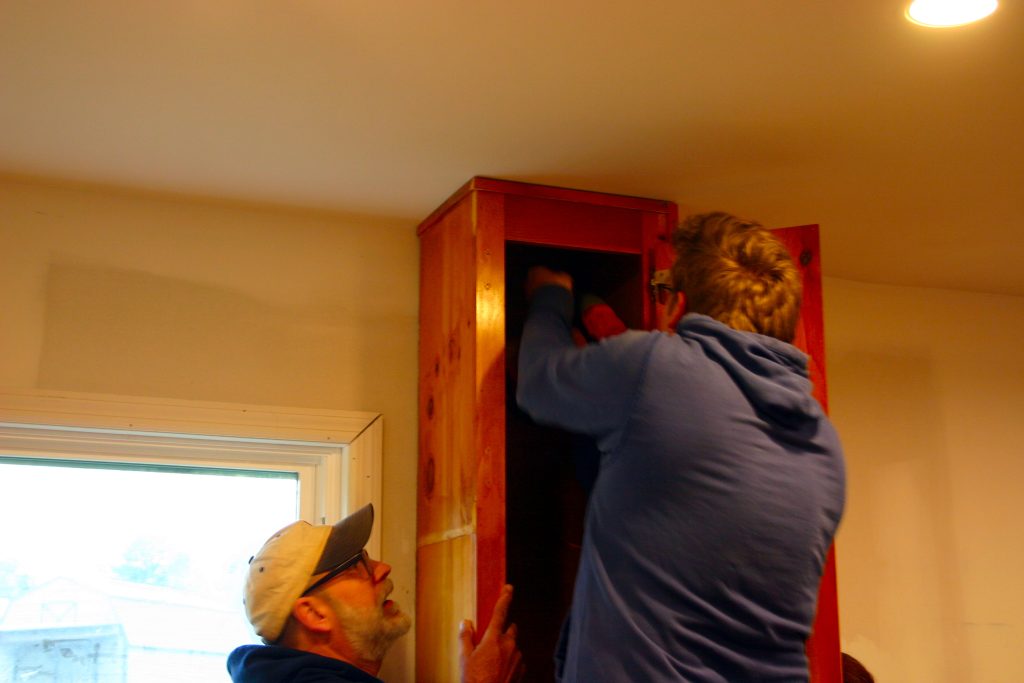
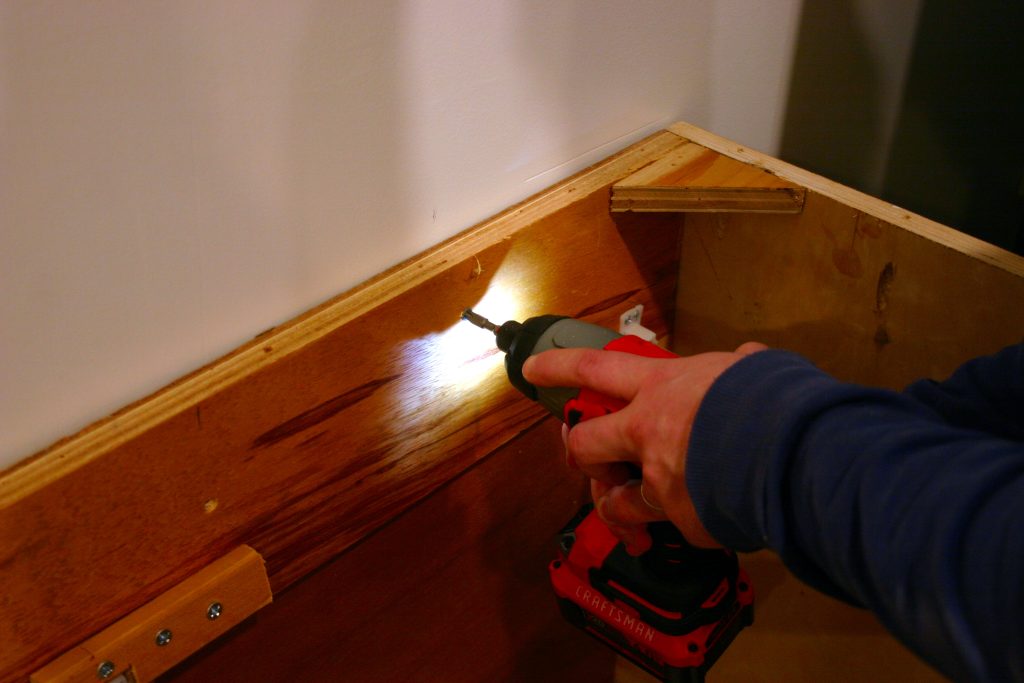
Depending on the size of the cabinet, 2-3 of us held the cabinet up while the last person drilled the cabinet into the studs in the wall and ceiling, securing it in place. Once the upper cabinets were installed, we put the lower cabinets in place and installed them by drilling them into the studs in the walls.
We alternated between an impact drill and a regular drill for this task. The impact drill makes it easier to drill into studs, so it is preferred.
Affordable Kitchen Renovation Ideas: Installing Countertops
We purchased simple and affordable Formica Laminate countertops from Lowes. This helped us stay in budget and allowed us to drill into the countertop, which was necessary for our antique sink installation.
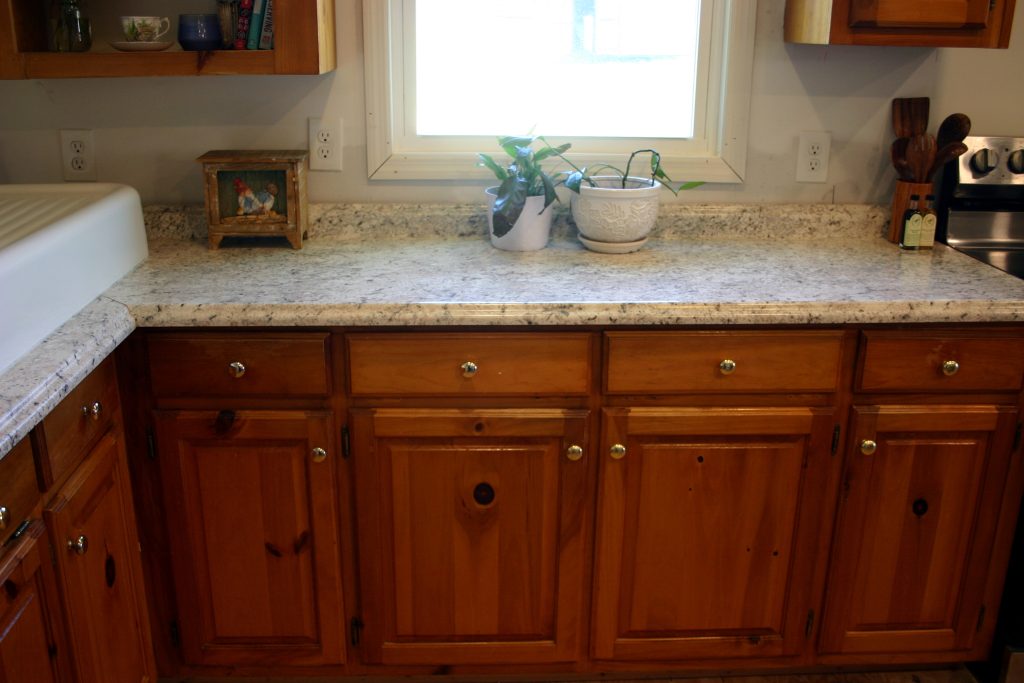
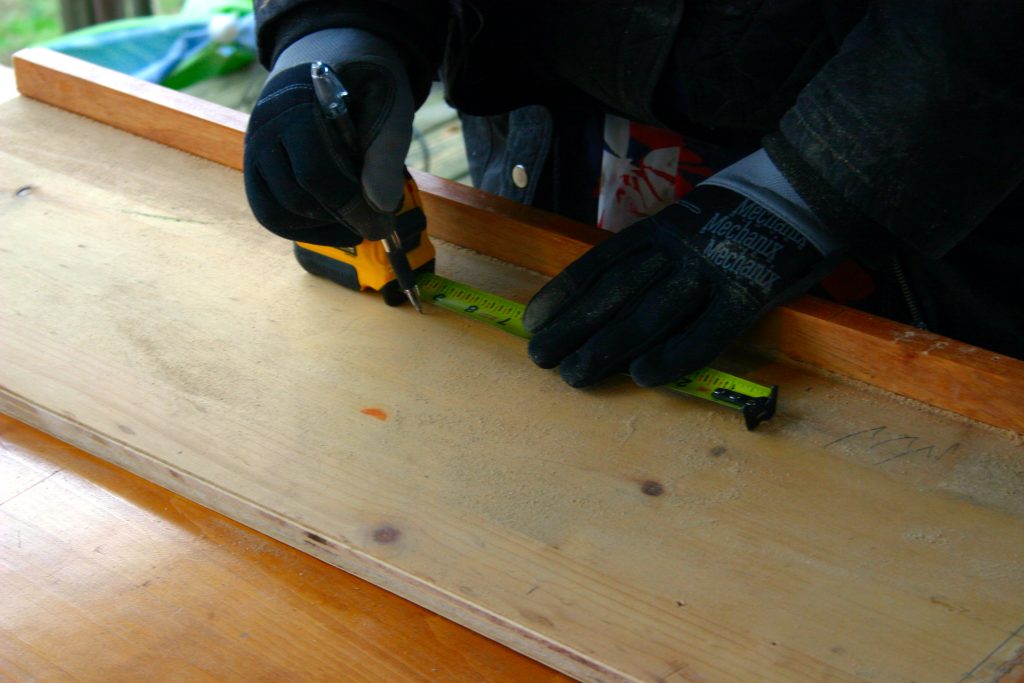
The countertops only come in certain dimensions. Because our corner section is 7′, we had to purchase the largest countertop dimension (10′) and cut it down to the right size. Cutting the countertop had to be done carefully to not chip the laminate.
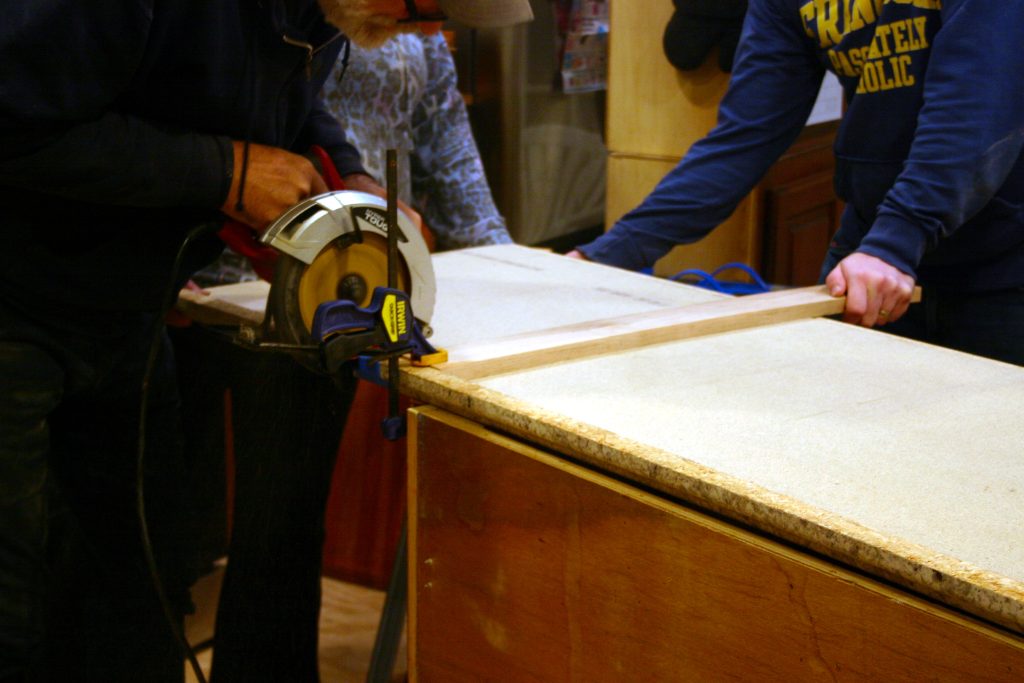
Cutting the Countertop
- We marked where the cut needed to be with a pencil on the back of the countertop. Painter’s tape was placed on the laminated side of the countertop to keep the veneer from cracking.
- We used a circular saw with a fine tooth blade (60 teeth) to ensure a clean cut.
- The countertop was cut by moving the saw up the backsplash first, and then down the rest of the countertop.


Installing the Countertop
The corner pieces need to be joined together before installation. This process uses a miter-bolt kit. Thankfully, the instructions for the kit were pretty easy to follow.
- Glue the pieces together with the glue provided in the kit.
- Tighten the joints at the designated spots using a 7/8ths wrench. The wrench did not come with the kit, so this would be an important extra purchase.

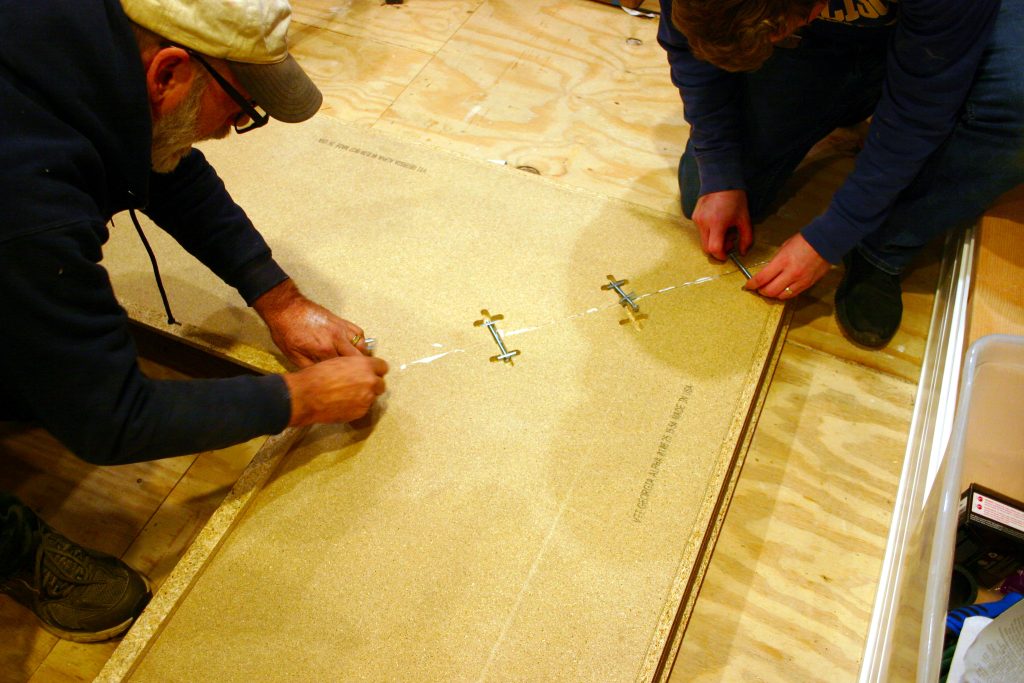
The next step is to place the countertop on the counters. It is best to do this before the glue dries to give you time to adjust the alignment as needed. The four of us worked together to carefully flip and place the countertop. Then, a mixture of sitting on the countertop and hammering it in uneven places helped to tighten it.
Affordable Kitchen Renovation Ideas: Making Drawers and Shelves
With so many extra cabinets, there was plenty of left-over wood to make additional shelving and drawers that were previously not there.
Creating the Shelves
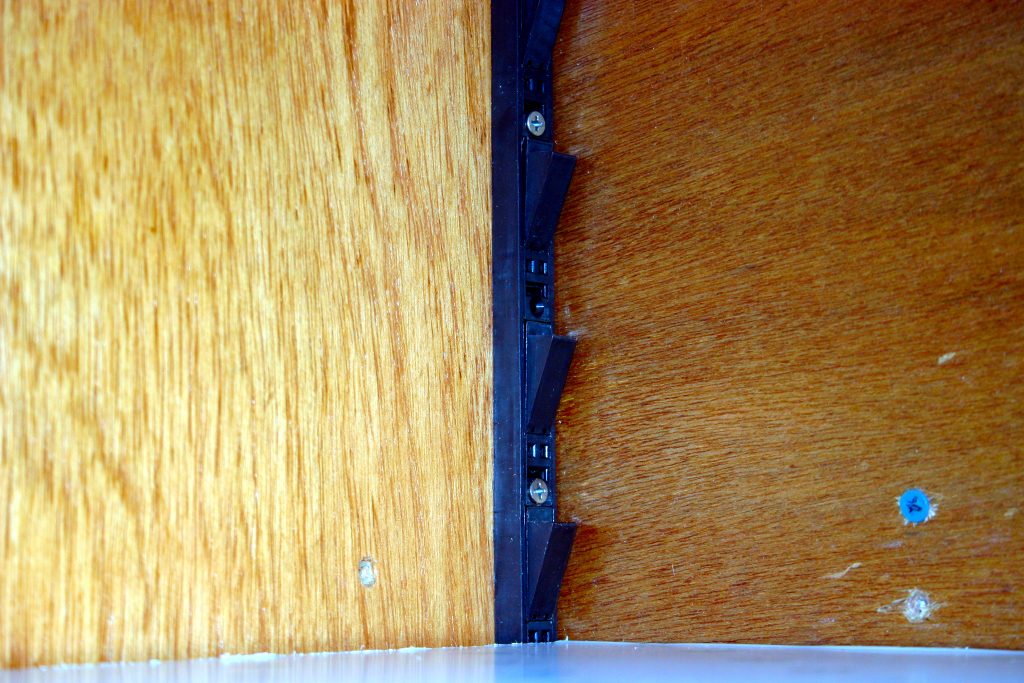
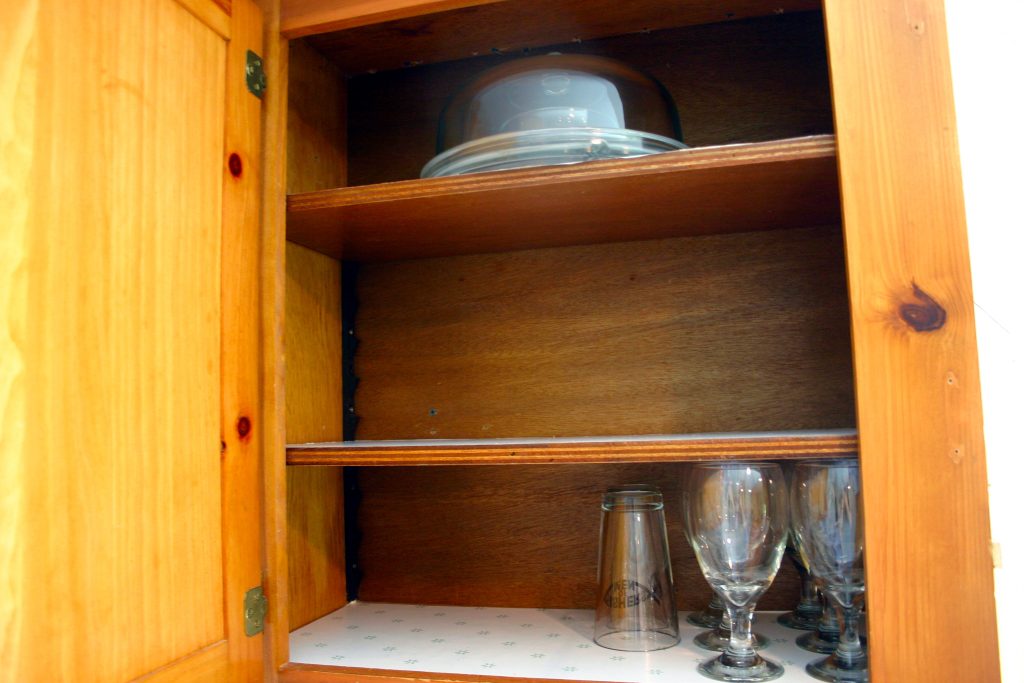
Creating the shelves inside of the cabinets was relatively easy. The cabinets came with self-support strips to create any desired size space in the cabinets. Knowing this, we simply cut more more boards to the correct length to fit in the cabinet and add more storage.
Creating the Drawers
Creating the drawers was a bit more challenging. Several of the drawer spaces had a face on it with a hinge instead of a usable drawer. The face was simply a decoration due to the sink or something else previously being in the way of a drawer. In addition to the face plates, we also had extra hardware to slide the drawers into place after making some of the counters smaller. All of these materials were used in creating extra drawers from scratch.
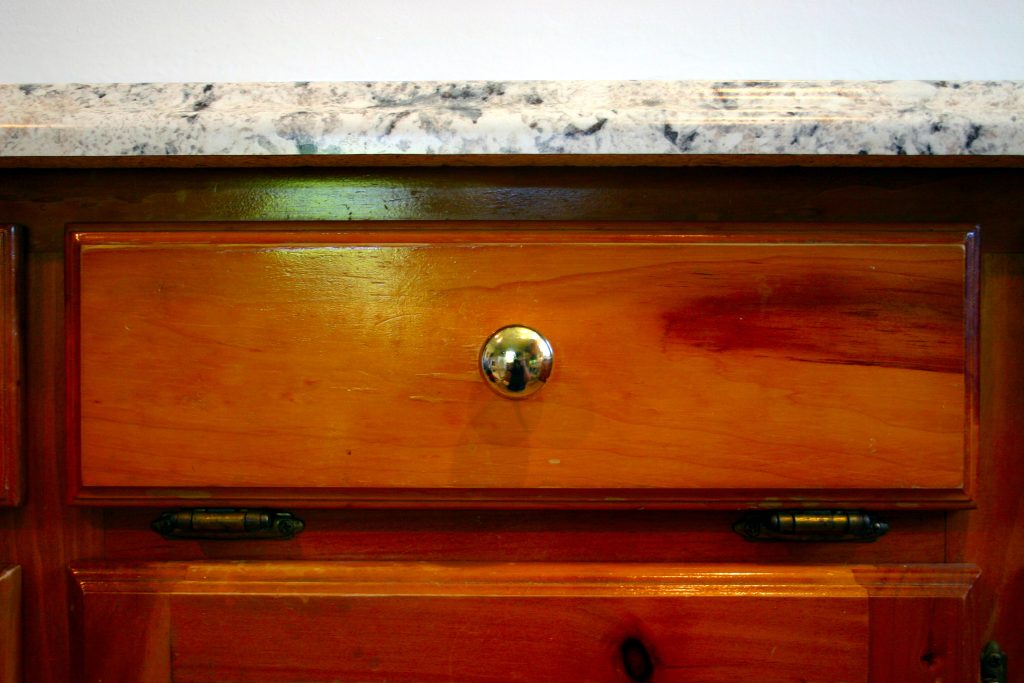
- We measured the sizes of the drawers that were already in place for reference. Several of the drawers had slight variations in size, which made calculating the dimensions tricky.
- The correct drawer measurements were based of the size of the faceplate that was being used in that space.
- The miter saw was used to cut the scrap wood to the correct pieces for each drawer. The nail gun was used to assemble the drawers.
- The extra hardware to slide the drawers was placed inside of the cabinets and the drawers were installed.

We continued this until we ran out of extra hardware. There are still a couple of spaces that could be utilized as an actual drawer that will be configured at a later date.
Check Out More of Our Affordable Home Renovation Ideas on a Budget!
Thank you for checking out our affordable kitchen renovation ideas! I hope you were inspired to DIY a renovation in your own home. Check in again for more budget friendly renovation tips!
What I’m Cooking in my New Kitchen!
Simple Chicken and Sausage Gumbo!
Pin for Later!


[…] Our Full Affordable Kitchen Renovation Tutorial […]